01What is highlighting on a miniature?
A miniature is tiny, and tabletop lighting is flat, so a model painted in one even colour reads as a blob from arm's length. Highlighting fakes the light: you paint the surfaces that would catch it (the tops of shoulders, the ridges of armour, the bridge of a nose, the upper fold of a cloak) a lighter version of their base colour, and leave the recesses dark. Shading is the other half of the same job — the wash or darker mix that sits in the hollows.
There are three families of highlight, and a beginner meets all three in the first few models:
- Layered highlights — successively lighter mixes of the base colour painted onto smaller and smaller raised areas. The default for skin, cloth and smooth armour.
- Edge highlights — a thin, bright line along a hard edge, painted with the side of the brush. The default for armour plates, blades and anything with a crisp corner.
- Dry brushing — an almost-dry brush dragged over the surface so only the raised texture picks up paint. Fast and rough; best on fur, chainmail, rock and metal.
By her second miniature The Pigmentum was listing all of this as the stuff she was still learning:
“I'm already learning the highlights, the shadows, the edge highlighting, the blending, and how to thin my paint properly.” — Episode 03
02Wash first or highlight first?
Wash first, highlight after. This is the single most repeated lesson on the channel, and the one she learned the most expensively. A wash is a thin, dark paint that runs into the recesses — but it also tints every surface it crosses, so anything you highlighted before the wash gets pulled back down toward the base colour. Shade with the wash, let it dry completely, then paint your highlights on top where they stay bright.
On her first miniature she did it the other way round:
“I started layering and mixing colors, making everything brighter and brighter. Kind of tried to create shadows and highlights. And honestly, I thought I was doing pretty well. I decided to put a wash over it. And after the wash, it looked absolutely nothing like the shades I just had spent so much time putting on. Amazing.” — Episode 02
She later cut that moment into a Short and wrote the rule on it herself:
“I thought I'd finished my first miniature. I spent ages putting all these highlights on. And then, as a complete beginner, I put a wash over the whole thing, and just like that, my highlights disappeared. I later learned, wash first, highlight after.” — her Short
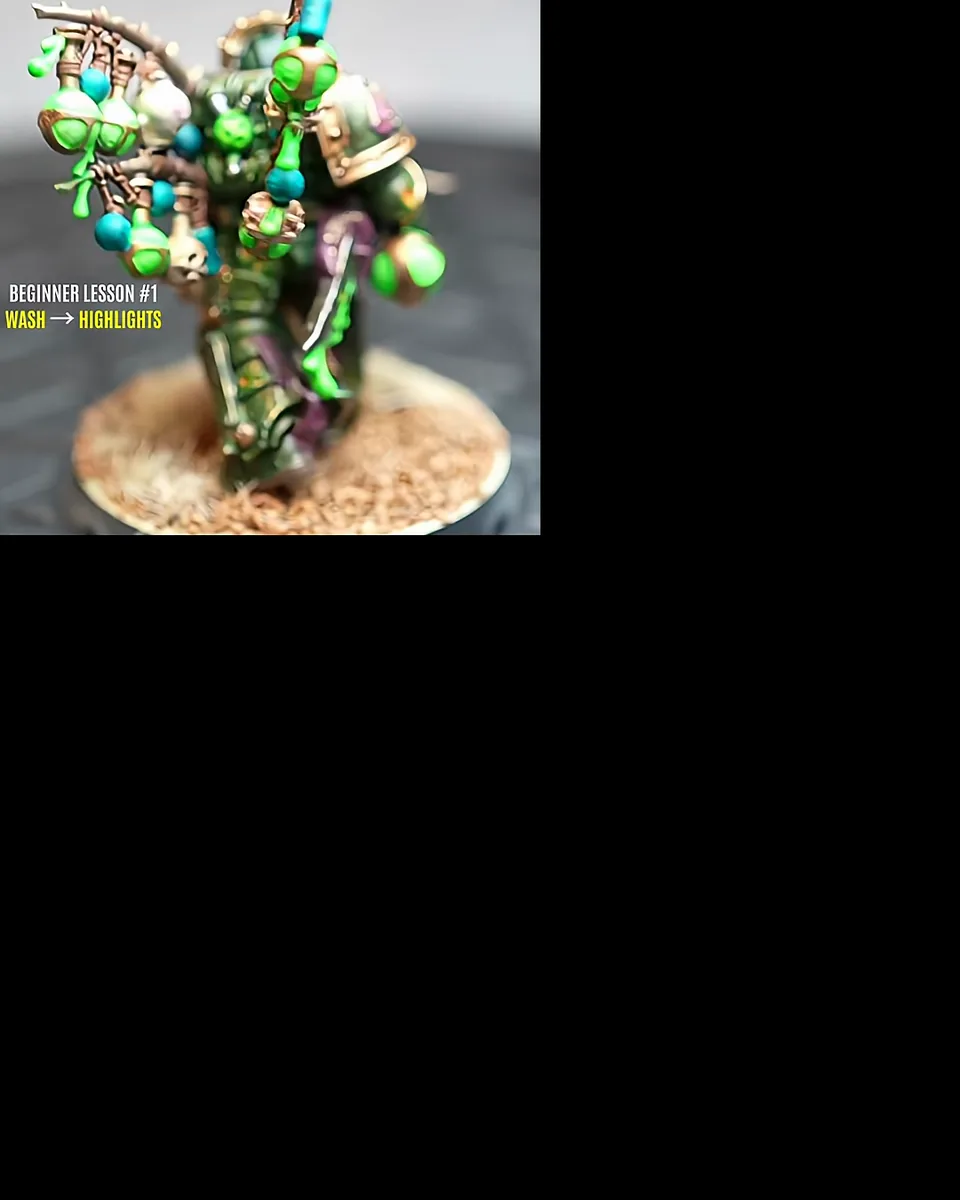
Her corrected order, used on every model since: prime → base colours dark-to-light → wash → final highlights and edges on top. If you want the full paint order, it is on the beginner's guide.
03How do you build highlights by layering?
- Start from the base colour on the whole part, thinned so it goes on smooth and the primer or zenithal underneath still faintly shows.
- Mix the first highlight — the base plus a little of a lighter colour (a lighter version of the same hue, a bone or pale flesh for warm tones, a pale grey-blue for cold ones). Paint it on the top two-thirds of the raised area, leaving the base showing in the hollows.
- Mix the second highlight — lighter again — and paint it on a smaller area inside the first: the top third.
- Finish with a small, bright touch on the very highest point only. Keep it tiny; this is the step that turns a highlight into a toy if you overdo it.
- Thin every layer. Thick highlights sit on the surface as opaque stripes. Thin ones fade into the layer below, which is what makes the steps look like one lit surface rather than three colours.
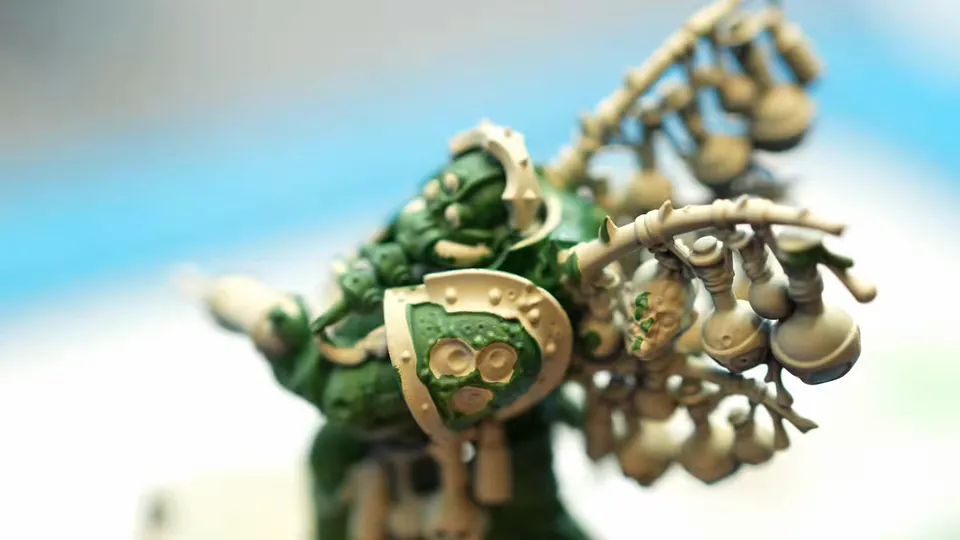
That is exactly the motion she describes on her first model — brighter and brighter, in smaller areas — and it was working until the wash went over it:
“I went ahead and paint the whole miniature in this kind of green. Then I started layering and mixing colors, making everything brighter and brighter.” — Episode 02
On the Poxwalkers she kept the first layer deliberately thin so the layer beneath still showed, then went back over the gross bits one bump at a time:
“I started with the skin using heavy skin tone, keeping the paint really thin so some of that genital still could come through underneath.” — Episode 05
“But it still wasn't disgusting enough. So I decided to highlight every single bump. I swear these thing have about 150 weird little spots on their bodies. I went over them with a nargo green. I think it made a pretty big difference.” — Episode 05
04How do you decide where the highlights go?
Pick one light direction and stick to it. For most miniatures that is straight above and slightly in front — the "zenithal" light — so the tops of surfaces are brightest and anything facing down stays dark. If you primed with a zenithal spray (dark from below, light from above), the model already shows you where the light lands before you mix a colour; that is covered on the priming page.
The faster, more advanced version is to decide the light and shadow at the base-coat stage, rather than painting a flat colour and highlighting afterwards. On her Golden Demon copy attempt she followed Richard Gray's approach: four mixes of the armour colour from the beginning, darkest in the shadows, worked up to the lightest where the light would hit.
“Richard said to start by mixing four colors from the beginning and establish the light and shadows instead of just painting the whole thing in one color and then worrying about the shadows later. So that's exactly what I did. I started with the darker colors in the shadows, then slowly worked my way up through the mixes, getting brighter and brighter in the areas where I thought the light would hit.” — Episode 03
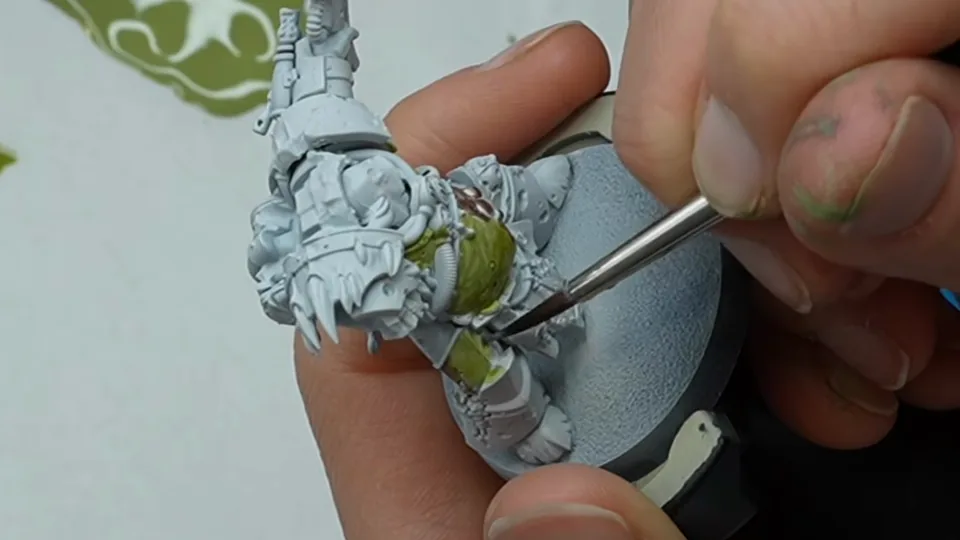
It looks wrong at first — she says so — and then it doesn't:
“At first it looked very patchy. I started to question whether I had completely understood what he was doing or what I was trying to do. But once the colors were actually on the miniature, I could finally start seeing the shapes and the armor coming together.” — Episode 03
05What colour should you highlight with?
A lighter version of the base colour, not white. Mixing white into most colours makes them chalky and pastel; mixing in a lighter related colour keeps them alive. Common pairings:
- Skin: a lighter, rosier flesh tone for the highlights; a purple or red-brown wash for the shadows.
- Greens and browns: add a bone or pale yellow, not white.
- Reds: add orange, then a touch of pale flesh on the very top.
- Black: a cold dark grey or a grey-blue, only on the sharpest edges and top surfaces. Black is the hardest colour to highlight well — too little and it doesn't show, too much and the part turns grey.
- Metallics: wash to dirty them down, then bring the shine back on the raised areas with the bright metallic again.
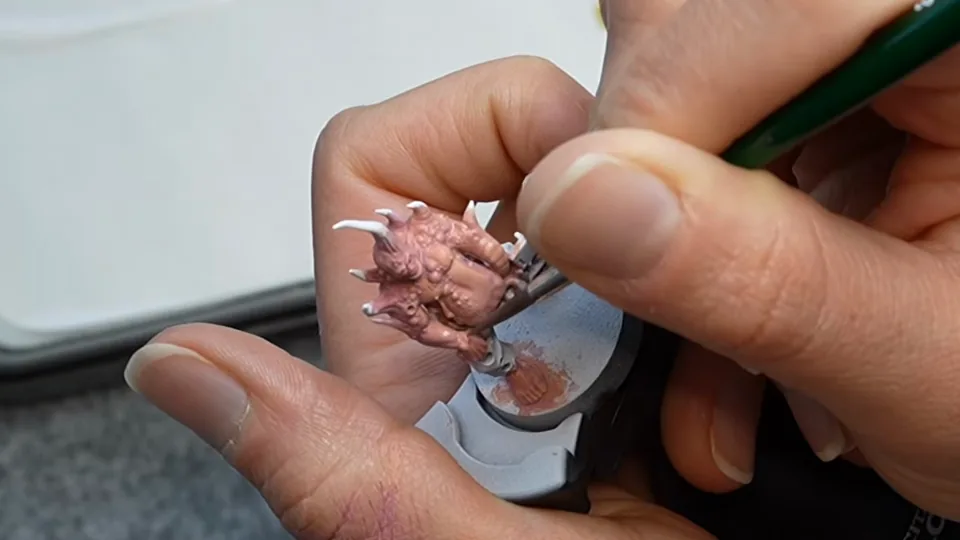
Her Poxwalkers are a one-model tour of all of this. Skin: a purple wash for the bruising, then rosy flesh and small face highlights to bring the brightness back.
“Then I made a purple wash and put it all around the bruised and irritated area. … I brought some of the brightness back with rosy flesh and added a few little highlights here and there to the face.” — Episode 05
Black horns: dark sea blue, which was the right idea and too close to black to show.
“I tried using dark sea blue for the highlights, but I don't think I did it correctly because they basically look black and I was running out of time.” — Episode 05
Bronze: wash it dirty, then dry brush the brightness back.
“I used a bright bronze. I gave the bronze a good wash to dirty everything down, then dry brush some of that brightness back into.” — Episode 05
06What is edge highlighting, and when does it go wrong?
Edge highlighting is a thin bright line painted along a hard edge — the rim of a shoulder pad, the edge of a blade, the corner of a tank — using the side of the brush rather than the tip, so the edge itself does the drawing. It makes armour look crisp and machine-made, and on the right part it is the fastest big improvement a beginner can make. Rules of thumb:
- Use it on hard edges that would catch light: plates, blades, crisp folds, the upper edges of a helmet. Not on soft, round or organic parts.
- Thin the paint and load the brush lightly, then drag the side of the bristles along the edge. A loaded tip gives a fat, wobbly line.
- Highlight the edges facing up more than the edges facing down, so it still reads as light and not as an outline.
- On dark colours, under-do it. One slip on black shows from across the table.
Her Poxwalkers are the on-camera example of edge highlighting the wrong parts. Sixteen black horns, running out of time:
“So, I thought I'll just edge highlight them. Bad idea. Oh boy. That's when my pox worker turned into a children toy. There were so many edges to hide. I messed up a lot of them. But instead of sitting there and trying to fix everything for another 3 hours, I sucked it up and moved.” — Episode 05
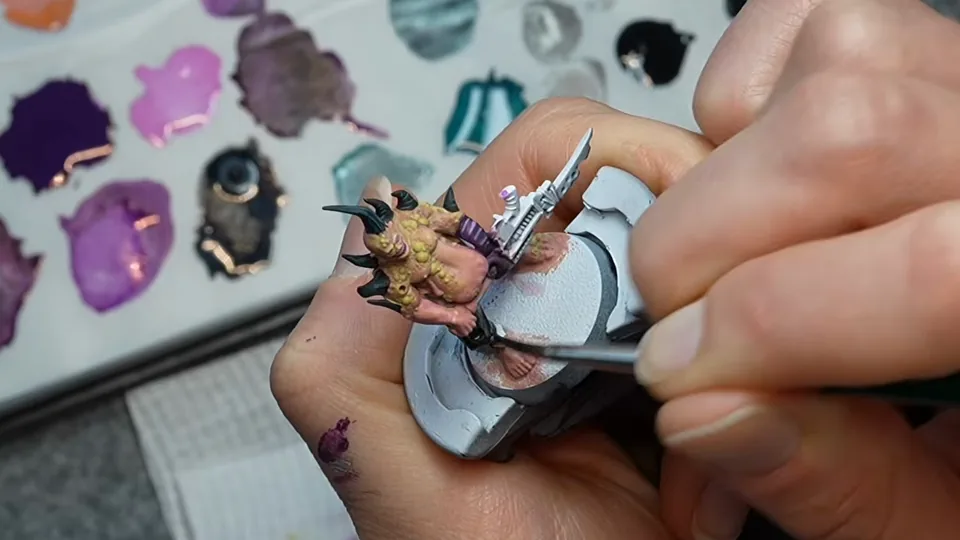
Then the same mistake on the black trousers:
“Then I painted the pants black and I tried highlighting them with a gray blue. And I think I made the exact same mistake. Maybe I should have wet blended them, glazed them. I don't know. I really wish I had never edge highlighted those pants, but again, I sucked it up, moved on.” — Episode 05
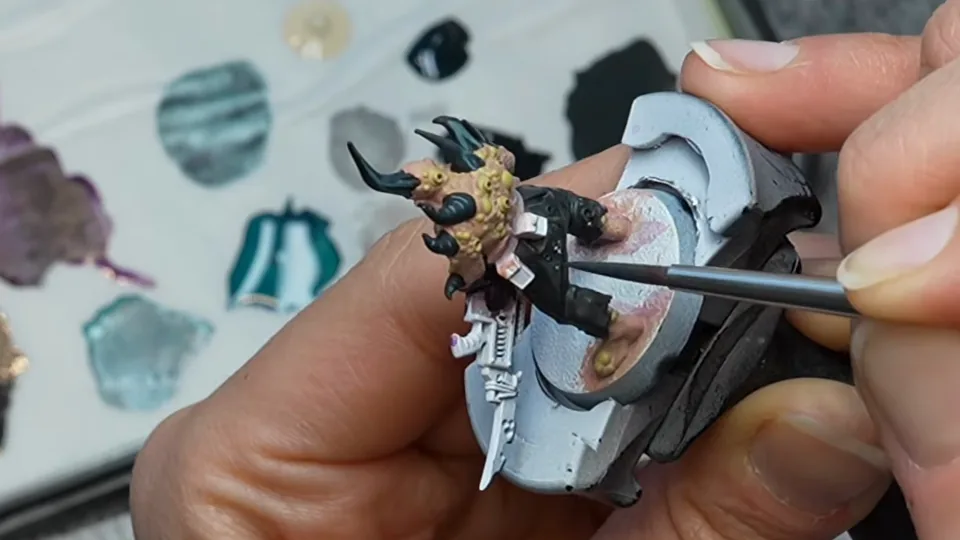
The lesson in her own takeaway: the more edges a part has, the more a sharp edge highlight shows every slip. Horns and cloth are soft, organic shapes; they wanted layered or blended highlights, not lines. Where she did put a single edge highlight on a crisp part — the belly plate of the Golden Demon copy — it worked, and she held her breath for it:
“And then I held my breath for about 10 minutes. Painted one in highlight on his belly.” — Episode 03
07Edge highlight, wet blend, glaze or dry brush — which one?
Four ways to make a surface look lit, and the part tells you which:
- Edge highlight — hard edges. Armour, blades, machinery.
- Layering — smooth, rounded surfaces where you want control. Skin, cloth, smooth armour panels.
- Wet blending — two wet colours worked into each other on the model so they fade seamlessly. Big smooth areas: cloaks, large plates, horns. Harder to control, faster once it clicks.
- Glazing — very thin, translucent coats that tint what's underneath. Used to smooth the steps between layers, or to pull a too-bright highlight back down.
- Dry brushing — textured surfaces. Fur, chainmail, rock, rough metal, and bringing shine back to washed metallics.
Where she has met these on camera: she watched wet blending work on the painter she was copying, and she has already named it as the thing the trousers wanted.
“He used a wet brush technique to blend the colors and I could actually see the colors slowly fading into each other which was really satisfying. His armor looked like an armor instead of patchwork of pieces together.” — Episode 03
Dry brushing, in her hands so far, is the bronze step above: wash, then dry brush the brightness back. What she has not done yet — by her own account — is a dedicated wet-blend, glaze or dry-brush pass on a whole model, and she has never varnished one on camera. Those pages will exist when those videos do; nothing here pretends otherwise.
08How do you fix a highlight that went wrong?
- Glaze it back. Thin the base colour until it is almost water and brush it over the too-bright area in two or three passes. The highlight stays, softer.
- Re-base the part. For a real mess, paint the base colour back over the whole part and start the highlights again, thinner.
- Wash over it. A thin wash knocks the contrast down everywhere at once — the same effect that ate her first highlights, used on purpose.
- Leave it. A tabletop model is seen from a metre away. On a batch of three, she chose to keep moving rather than spend three more hours.
“But instead of sitting there and trying to fix everything for another 3 hours, I sucked it up and moved.” — Episode 05
Her own verdict on the batch, mistakes included:
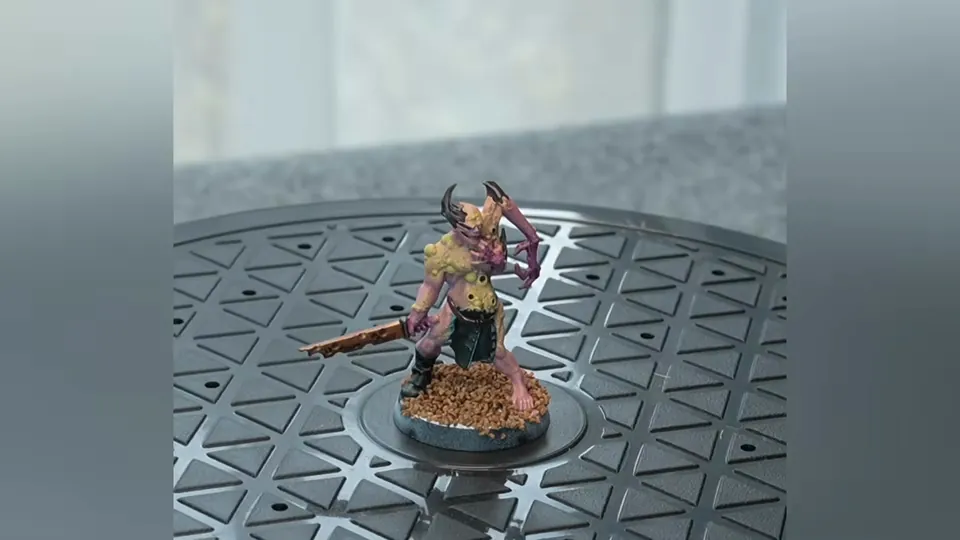
“Three miniatures, 6 hours totals, 2 hours each mini. For a beginner, it's a win.” — Episode 05
09What did The Pigmentum actually do on camera?
- Episode 02, first miniature: layered green highlights "brighter and brighter", then washed over them and lost them. Watch Episode 02
- Her Short on it: the same moment cut down, captioned "wash → highlights" in her own words. Watch the Short
- Episode 03, Golden Demon copy: four mixes from the start, shadows worked up to light; one edge highlight on the belly plate; watched wet blending work on the original. Watch Episode 03
- Episode 05, three Poxwalkers: purple wash then rosy flesh and face highlights; a green highlight on every bump; dark sea blue on black horns that didn't show; edge highlights on horns and trousers she regrets; bronze washed then dry brushed back. Watch Episode 05
- Episode 06, Thrall: skin that went "like Shrek" and had to be fixed — a colour problem, not a highlight problem, so it lives on the guide. Watch Episode 06
FAQ
- Do you wash a miniature before or after highlighting it?
- Wash first, highlight after. A wash is thin, dark paint that settles into the recesses but also tints every surface it touches, so highlights painted before it get pulled back down toward the base colour. Set the shading with the wash, let it dry, then put the highlights on top. The Pigmentum learned this on her very first miniature: she spent ages on highlights, washed the whole model, and they vanished.
- What colour do you highlight black with?
- Not with a lighter black and not with white. A cold dark grey or a desaturated grey-blue read as 'lit black' without turning the part grey; keep the highlight to the sharpest edges and the top surfaces only. The Pigmentum tried dark sea blue on black horns and it barely showed, then a grey-blue edge highlight on black trousers that showed too much — the sweet spot is between those two.
- Should I edge highlight everything?
- No. Edge highlighting suits hard-edged parts such as armour plates, blades and crisp folds, and it is unforgiving on dark, many-edged parts where every wobble shows. Soft or organic surfaces (skin, cloth, horns) usually look better with layered or blended highlights. Her Poxwalkers' horns and trousers are the on-camera example of edge highlighting the wrong part.
- Why do my highlights look chalky or like a toy?
- Usually one of three things: the highlight colour jumps too far from the base in one step, the paint is too thick so it sits on top as an opaque line, or it is painted on edges that were not meant to catch light. Thin the paint, add an in-between step, and keep highlights to where light would actually land. The Pigmentum's own words for this on her Poxwalkers were that the model 'turned into a children toy'.
- What is the difference between highlighting and dry brushing?
- Highlighting means deliberately placing lighter paint on specific raised areas with a loaded brush. Dry brushing drags an almost-dry brush across the whole surface so only the raised texture catches paint — faster, rougher, good for fur, chainmail, rock and metal. She dry brushed brightness back onto washed bronze on her Poxwalkers; the faces and skin got placed highlights instead.
- How many highlight layers does a miniature need?
- Two or three steps above the base colour is enough for a tabletop model: base, a lighter mid-tone over most of the raised area, and a small final highlight on the very top. Competition painters use many more, far thinner steps. The Pigmentum's Golden Demon copy attempt used four mixed shades from the start, which is the same idea built into the base coat.
- Can you fix a highlight that went wrong?
- Yes. Glaze the base colour back over the mistake with very thin paint, or re-base that part and start again, or run a thin wash over it to knock the contrast down. On a batch of three models she chose to leave the mistake and move on, which is also a valid answer when the model is for the table and not the cabinet.