01Do you need to prime miniatures?
Yes. Miniatures come as smooth plastic, resin or metal, and acrylic hobby paint has very little to hold on to. Paint on an unprimed model beads up on flat armour, needs three or four coats to cover, and rubs off edges the first time you handle it. Primer is a thin, matte, slightly toothy coat that everything else bonds to.
It also does two quieter jobs: it gives the whole model one even colour so your base coats behave the same everywhere, and it shows you gaps, mould lines and glue marks you couldn't see on shiny grey plastic — which is why so many painters spot a mould line only after priming.
The only real exception is not skipping primer, but choosing a coloured one: bone, red or a mid-tone spray that doubles as the first base coat for contrast or speed-paint schemes. That still counts as priming.
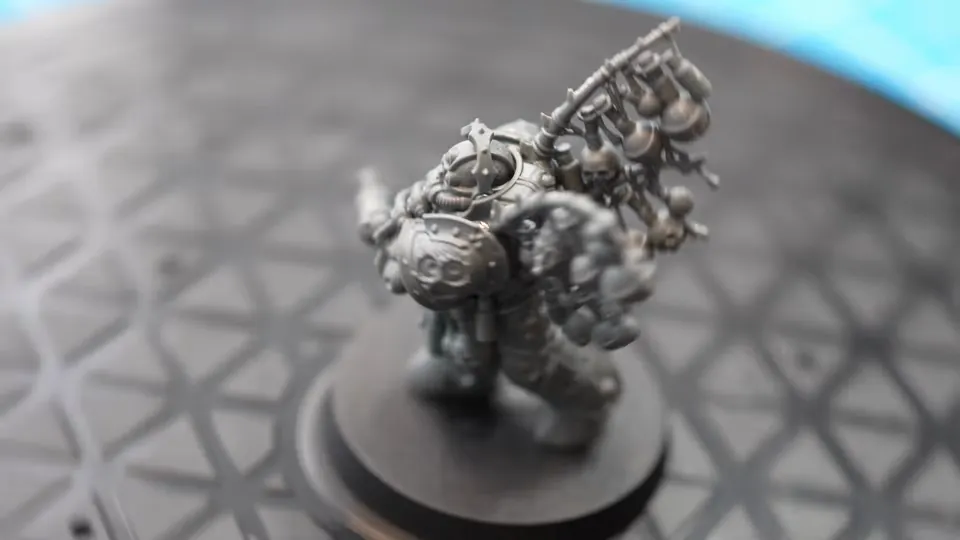
02Spray primer vs brush-on primer: which should a beginner use?
Spray (rattle can) is the default for a reason: it gives the thinnest, most even coat with the least effort, and covers a batch of models in a few minutes. Its downsides are the weather (it needs a dry, mild day and ventilation), the fumes, and the fact that a heavy hand fills detail fast.
Brush-on primer is a water-based acrylic primer you paint on like any other paint. It is slower and shows brush marks if you load the brush, but it works indoors, in winter, in a flat with no balcony, and it is ideal for touching up spots a spray missed under arms or between legs. Two thin coats beat one thick one.
Airbrush primer is the third option if you already own an airbrush: thin, controllable, works indoors with a booth or an open window. It is the same idea as spraying with more control and more cleaning afterwards.
- Pick spray if you have somewhere outdoors to do it and more than one model to prime.
- Pick brush-on if you're indoors, it's cold or humid, or you're priming one small model.
- Either way keep a brush-on primer in the drawer for touch-ups.
03What colour primer should I use?
Grey or black for a first model. The colour under your paint changes how bright the finished miniature reads, and how forgiving the process is:
- Black — the most forgiving. Anything you miss reads as shadow, metallics look rich, dark armour schemes need fewer coats. Bright colours (yellow, white, pale skin) take more layers to come up.
- White — the brightest results and the best base for contrast paints and pale schemes, but every recess you miss stares back at you as a white dot, and it hides nothing.
- Grey — the middle: colours come up truer than over black without the exposed-spot problem of white. A safe first choice, and what most tutorials assume.
- Coloured primers (bone, red, green, blue) skip a base coat when most of the model is one colour, which is a real time-saver for armies.
On her Golden Demon copy attempt The Pigmentum primed grey for the most practical reason of all: it's what the painter she was copying had done.
“I primed the miniature gray, which is what Richard did, too. And then I got straight into painting.” — Episode 03
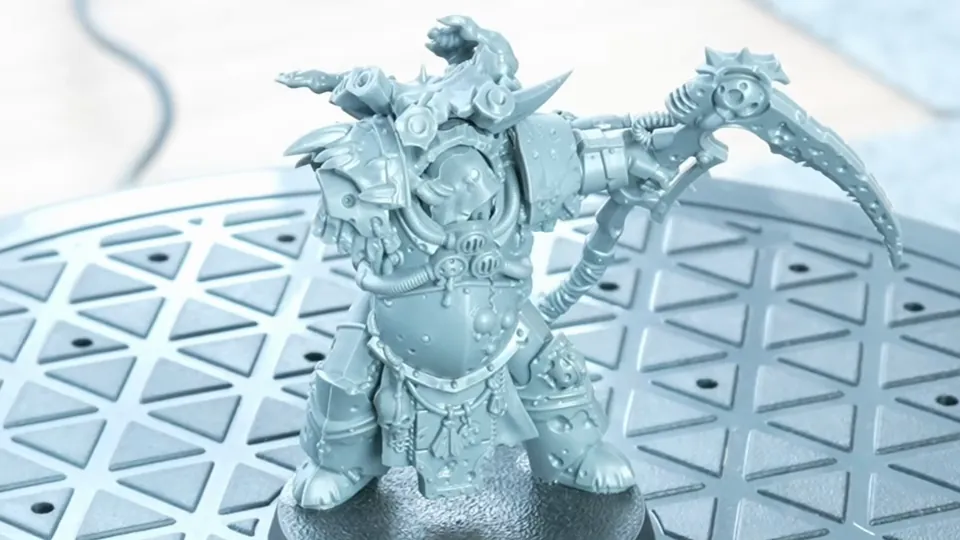
04How do you spray prime a miniature without losing the detail?
- Clean it. Plastic just needs mould lines scraped and dust brushed off. Resin and 3D prints get a wash in warm soapy water and a full dry first — mould-release agent is the usual reason primer peels.
- Mount it. Blu-tack or hot-glue the model to a cork, a bottle cap or a painting handle so you can turn it without touching it.
- Check the weather. Mild, dry and still. High humidity or cold makes rattle-can primer dry fuzzy and chalky; wind blows half of it past the model.
- Shake the can for a full minute. Longer than feels necessary. Unshaken primer sputters and spits.
- Spray from 20–30 cm in short passes. Start the spray off the model, sweep across it, stop past it. Never hold the nozzle down while pointing at the model — that's how you get runs and drowned faces.
- Turn and repeat. Rotate the model a quarter turn and go again; then come in from above and from below. Two or three light coats with a minute between them.
- Check under the arms. Look for shiny spots in the recesses and either give them a quick pass or touch up later with brush-on primer.
- Leave it. Touch-dry in 10–20 minutes, but give it an hour before you paint. It should look matte and even, with the smallest details still crisp.
If you can see the texture of the primer with the naked eye, it went on too heavy or too far away. A good prime is almost invisible: the model just changes colour.
05What is zenithal priming?
Zenithal priming is a two-colour prime: a dark primer over everything, then a lighter one (grey then white, or straight to white) sprayed only from above, as if the model were standing under the sun at noon. Before any paint goes on you can already see where the light falls and where the shadows sit, and you can leave that pre-shading showing through thin paint or contrast paints.
It's a beginner-friendly shortcut because it makes the lighting decision for you. The Pigmentum tried it on her very first miniature and rated it one of the few things she enjoyed straight away.
“Then I practiced my zenithal, which I actually found pretty cool.” — Episode 02
Two things to know before you try it: the light pass has to be a light pass (a heavy white coat from above just makes a white model), and the effect largely disappears under opaque base coats — it pays off most under thin layers, glazes and contrast-style paints. The paint order section of the main guide covers what she did next.
06How long does primer take to dry?
- Spray primer: touch-dry in about 10–20 minutes on a warm, dry day; safe to paint over after roughly an hour; fully cured in 24 hours. If it still smells strongly of solvent, it isn't ready.
- Brush-on primer: touch-dry in 15–30 minutes, paintable after about an hour once the surface has gone matte.
- Airbrush primer: similar to brush-on — most are paintable within the hour; a hair dryer on low speeds it up.
Cold rooms and humid weather can double all of these. The practical test: it should feel dry and look uniformly matte, with no tacky patches in the recesses, before you put paint on it. Painting over primer that is dry on top but soft underneath is one way a thumbprint ends up permanently in a cloak.
07Should I prime before or after assembling the miniature?
Assemble first, then prime, for most miniatures. Primer then covers the glue joints and any gap filler, and you avoid scraping primer off contact points so the glue will bond. That's the order The Pigmentum followed on her first model: glue everything together, then prime.
“I did what everybody advised me to do. I glued all the pieces together… Then I practiced my zenithal.” — Episode 02
Prime in sub-assemblies only when a part will block the brush from what's behind it: a cloak over a back, a shield over a chest, a rider on a mount. Leave those parts on a bit of sprue or a cocktail stick, prime them separately, and glue after painting (scrape the primer off the join first). See how to put a miniature together in the main guide.
08What are the most common priming mistakes?
- One heavy coat. The number-one detail killer. Faces, chainmail and rivets disappear under a thick prime. Three light passes, not one wet one.
- Too close, or holding the nozzle down. Runs, pooling in recesses, a glossy skin that takes hours to dry.
- Too far, cold or humid. The primer half-dries in the air and lands as grit — a fuzzy, chalky surface that soaks up paint. Wait for a better day, or switch to brush-on.
- Not shaking the can. Sputtering, spitting and uneven colour.
- Only spraying from the front. Bare plastic under arms, between legs and under the base rim. Turn the model and come in from below.
- Hardware-store spray on a first model. Thicker formulas made for garden furniture; test on a sprue if you must.
- Skipping the wash on resin or prints. Release agent and uncured resin make primer bead and peel.
- Touching it too soon. Fingerprints in soft primer are permanent. An hour is cheap.
09What did The Pigmentum actually do on camera?
Her episodes are about painting rather than priming, so the priming itself is mostly a line and a cut — but every model on the channel starts primed, and three of those starts are on film:
- Episode 02, first miniature: assembled first, then a zenithal prime she "actually found pretty cool", before a green base coat. Watch Episode 02
- Episode 03, Golden Demon copy: primed grey to match the original painter, then straight into mixing four shades. Watch Episode 03
- Episode 06, Thrall: the model is shown in a pale, even undercoat before the first skin tone went on (which came out "like Shrek" and had to be fixed). Watch Episode 06
Her videos don't name the primer brand she uses, so this page doesn't either. When she films a priming session properly, it goes here.
← Back to the full beginner's guide: what to buy, paint order, washes and every mistake so far
FAQ
- Do you have to prime miniatures before painting?
- Yes, in almost every case. Acrylic model paint does not grip bare plastic, resin or metal well: it beads on smooth areas, rubs off with handling and needs more coats to cover. A thin coat of primer gives the paint a matte surface to bond to. The only common exception is contrast or speed-paint schemes over a coloured primer, which is still primer.
- Can I use ordinary hardware-store spray paint as primer?
- You can, but it is a gamble. General-purpose sprays are formulated for large surfaces and go on thicker, so they can fill in fine detail like faces and rivets. Hobby primers (or an automotive primer applied in very light passes) are made to stay thin. If you try a hardware-store can, test it on a sprue first.
- What colour primer should a beginner use?
- Grey or black. Black hides missed spots and gives darker, moodier results; white makes colours bright but shows every gap you miss; grey sits in the middle and is the easiest to work over. The Pigmentum primed grey for her Golden Demon copy because that is what the original painter did, and used a zenithal prime (dark below, light above) on her first miniature.
- How long does primer take to dry before I can paint?
- Spray primer is usually touch-dry in 10–20 minutes and safe to paint after about an hour in warm, dry weather; give it 24 hours for a full cure if you want to handle the model a lot. Brush-on and airbrush primers dry faster to the touch but still benefit from an hour before heavy layering. Cold or humid rooms roughly double these times.
- Should I prime before or after assembling the miniature?
- Assemble first for most miniatures, then prime, so the primer covers glue joints and any gap filler. Only prime parts separately when a piece (a cloak, shield or backpack) would block the brush from reaching what sits behind it.
- Do I need to wash my miniatures before priming?
- Plastic kits: not usually — scrape the mould lines, brush off the dust and prime. Resin and 3D-printed miniatures: yes. Wash them in warm soapy water with an old toothbrush and let them dry completely, because the mould-release agent left on resin (and uncured resin on prints) stops primer from bonding.
- Do resin or 3D-printed miniatures need different priming?
- The same primer works, but wash resin miniatures in warm soapy water first to remove mould-release agent, and make sure 3D prints are fully cured and support-free. Skipping the wash is the usual reason primer peels or beads on resin.